
When you ever found yourself looking into the mirror and noticed a bunch of small dark dots crowded along your nose or chin, and wondered how to get a quick, complete adjustment that would please your eye and send you away contented to the world below, you are not alone. Blackheads are the very irritating little housemates on the oily skin. Blackhead strips can be homemade and offer instant gratification, yet have to be done carefully. It is a personal safety book of recipes to follow on DIY, when, when not to, and reasonable aftercare. Hopefully, in a real-life language of someone (me) explaining it to a friend as we sit on a tea table.
Table of Contents
What is a homemade blackhead strip?
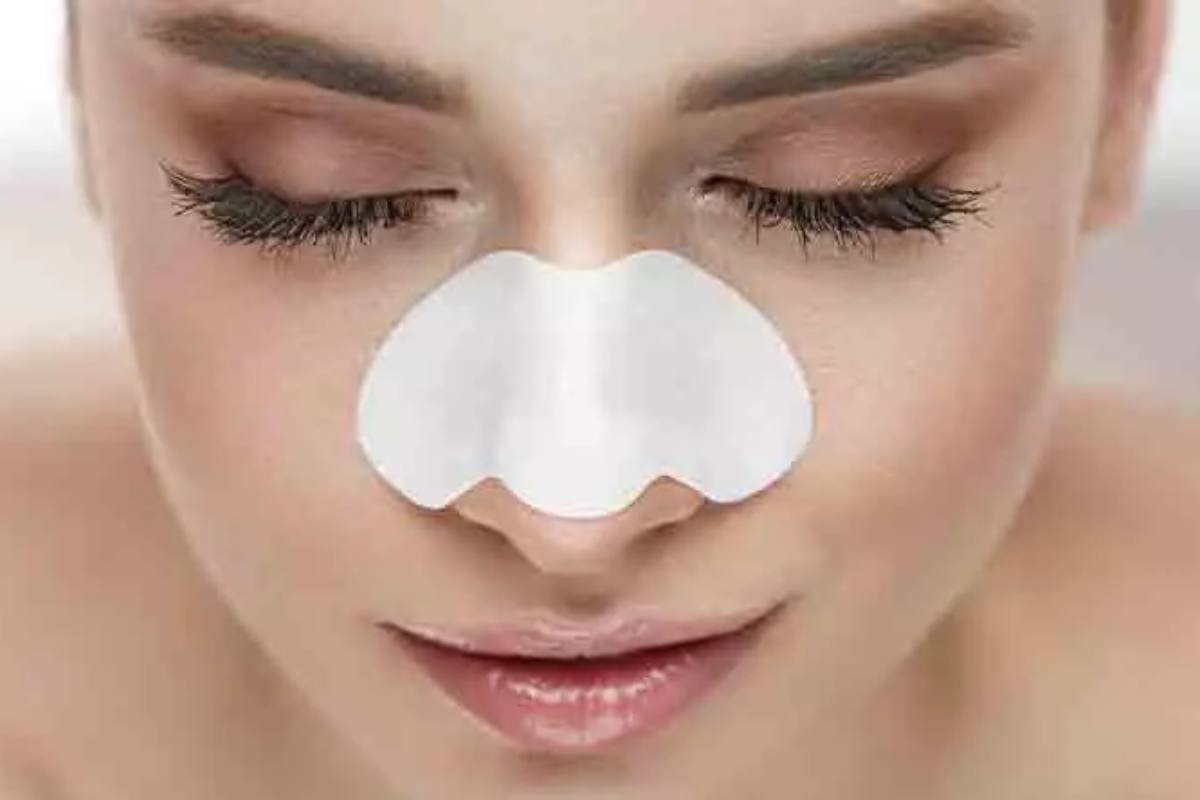
An example of a homemade blackhead strip is a DIY peel or adhesive strip made out of synthetic materials such as gelatin, activated charcoal, or egg white which sticks to the skin and pulls off surface blackheads and sebum-filled debris on removal.
The reason why people look into this keyword.
The majority of users desire quick and economical means to get rid of visible blackheads at home with stuff that they already have. They require a recipe by recipe, safety precaution, and an evidence that it really works.
What these strips actually do (and don’t)
Homemade blackhead strip are created when a pore receives excessive sebum (skin oil) and dead skin cells and the top of the pore oxidizes and becomes dark. A blackhead strip with a peel-off can not reduce the size of your pores at all, no cosmetic treatment ever can permanently do this; however, it may help to pull off the debris on the surface and some sebum plugs, and it makes the pores less noticeable temporarily.
Significant: strips are effective on open comedones (classic blackheads) that are located close to the skin. They are not associated with having cystic acnes, and they can aggravate sensitive or inflamed skin. I would visit a dermatologist in case of large painful breakouts.
Safety first
- Patch-test on any discreet spot anywhere (behind the ear or the inner wrist) and leave for 24 hours, and then stick a strip to your face.
- Should not be applied to the sunburned, irritated, inflamed, or broken.
- Keep away eyelids, inner corners of eyes and lips.
- Stop at once when whatever is touched stingy, blisters, or deluges.
- Do not apply adhesive strips for more than 7 -10 days; repeating too frequently dries up and cracks the skin.
- Pee-wee/thin/delicate skin: Do not use a peel-off strips especially when you are having rosacea or eczema.
- Use chemical exfoliants rather (mild solutions of salicylic acid) and see a dermatologist. Instead, use gentle salicylic acid products and consult a dermatologist.
Three safe, effective homemade blackhead strip recipes
Below are three tested-at-home style recipes. They use kitchen-friendly ingredients but are chosen to minimize risk. I avoid recommending glue-based strips or hobby adhesives — they may sound clever, but they’re not meant for skin and can cause irritation or allergic reactions.
1) Gelatin + Activated Charcoal Peel (the “power” strip)
This gives a firm peel and grips surface debris well.
Ingredients and tools:
| Item | Why do we use it |
| Unflavored gelatin (1 tsp) | Forms a peelable film |
| Activated charcoal powder (¼ tsp) | Adds gentle absorbency and color for show-off satisfaction |
| Warm water or milk (2 tbsp) | Hydrates gelatin to melt |
| Small bowl + spoon | Mix & warm the gelatin |
| Microwave (or double boiler) | Melt gelatin safely |
| Clean nose or targeted area | Apply on dry skin |
Steps (short):
- Mix gelatin + charcoal + warm liquid until smooth.
- Microwave 8–10 seconds (or warm over steam) until melted and slightly thick.
- Let cool 10–20 seconds so it’s warm but not scalding. Apply thinly over the target area.
- Wait 10–15 minutes until fully dry. Peel slowly from the edges.
- Rinse, soothe, and moisturize.
Pros: strong peel, visible results.
Cons: can be painful if skin is dry or sensitive; avoid if prone to redness.
2) Egg-White + Tissue Strip (classic, cheap)
Totally natural, minimal ingredients. The tissue helps give the peel structure.
Ingredients and tools:
| Item | Why we use it |
| 1 egg white | Dries into a film that grips debris |
| Toilet or tissue paper (thin) | Adds strength to the peel |
| Small bowl, clean brush (or finger) | Apply mixture smoothly |
| Clean skin | Dry before application |
Steps (short):
- Whisk egg white until frothy.
- Brush a thin layer onto the area. Place tissue over it, press gently, then brush another layer over the tissue.
- Let it dry 15–20 minutes. Peel off slowly from edges.
- Rinse and moisturize.
Pros: inexpensive, easy.
Cons: weaker grip than gelatin; egg smell for a while; not for those with egg allergies.
3) Honey + Sugar Gentle Lift (exfoliating “strip”)
Less of a peel and more of a sticky exfoliant. Great for sensitive skin that can’t handle stronger peels.
Ingredients and tools:
| Item | Why we use it |
| Raw honey (1 tbsp) | Natural humectant and sticky base |
| Fine sugar (½–1 tsp) | Gentle physical exfoliant |
| Warm towel | Warming opens pores a bit |
| Spoon | Mix & apply |
Steps (short):
- Mix honey + sugar into a spreadable paste.
- Apply to the target area for 3–5 minutes, then press a warm towel for 30 seconds.
- Rub gently in circular motions and rinse. No peel, but gunk loosens and comes away.
Pros: gentle, moisturizing; no painful peeling.
Cons: not as visually dramatic; slower results.
Which recipe to pick? (decision table)
| Skin type / goal | Best option | Frequency |
| Normal, wants visible extraction | Gelatin + charcoal | Every 7–10 days |
| Oily, resilient skin | Gelatin + charcoal or egg-white | Weekly to biweekly |
| Sensitive or reactive skin | Honey + sugar | Every 2–3 weeks |
| Allergic to eggs | Avoid egg-white method | N/A |
| Prefers gentle care vs instant peel | Honey + sugar | As needed |
Step-by-step: how to use a peel-off strip safely
Cleanse gently. Use a mild cleanser to remove surface oil and makeup. Pat dry.
- Open pores slightly. Optional: steam face for 3–5 minutes or place a warm towel on your nose for 30 seconds. This makes the strip more effective.
- Apply evenly. Use a brush or clean finger — don’t smush it to the eyes or lip line.
- Wait until fully set. If any tackiness persists, it’s not ready to peel.
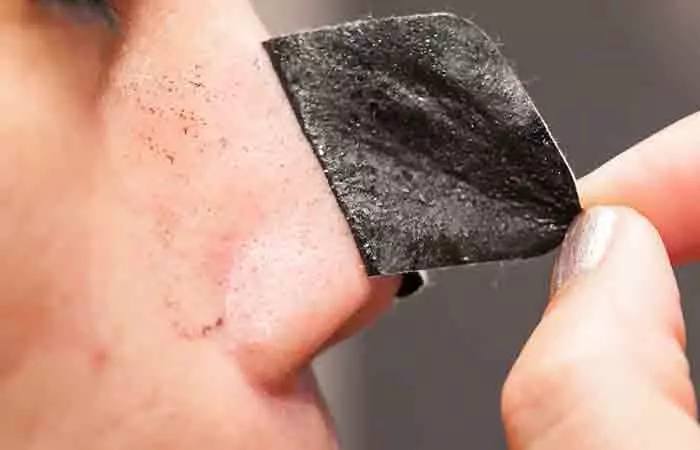
- Peel slowly and gently. Pull from the outer edges toward the center. Try to keep the skin taut with the other hand to reduce pain.
- Rinse and soothe. Use cool water, then apply a gentle hydrating serum or moisturizer with niacinamide or aloe.
- Sun care. Use SPF during the day — freshly exfoliated skin can be more sun-sensitive.
Realistic expectations & what you’ll see
- Most of what comes off are surface plugs; deeper comedones may not budge.
- You might see short-term reduction in pore visibility, but pores don’t permanently shrink.
- If a strip hurts a lot or causes intense redness that lasts more than an hour, stop and treat with a soothing aloe or cold compress. Seek professional care if needed.
Aftercare: what to put on your skin
- Hydrating toner or mist (alcohol-free) to rebalance.
- Lightweight moisturizer — something non-comedogenic if you’re acne-prone.
- Soothing agents: aloe vera gel, centella (cica), or a thin layer of hyaluronic acid serum.
- Avoid heavy acids or retinoids for 24–48 hours after a peel — your skin is more vulnerable.
Homemade Blackhead Strip – Quick Recipe Recap
| Method | Ingredients | How to Prepare | Application Time | Best For |
| Power Peel (Gelatin + Charcoal) | 1 tsp unflavored gelatin ¼ tsp activated charcoal 2 tbsp warm water or milk |
Mix all ingredients → Microwave 8–10 seconds until melted → Let cool slightly | Apply thin layer → Let dry 10–15 mins → Peel slowly | Oily or normal skin, visible blackheads |
| Budget Peel (Egg White + Tissue) | 1 egg white Thin tissue paper |
Whisk egg white → Apply layer → Place tissue → Apply another layer on top | Let dry 15–20 mins → Peel gently from edges | Normal to oily skin, budget-friendly option |
| Gentle Lift (Honey + Sugar) | 1 tbsp raw honey ½–1 tsp fine sugar |
Mix into spreadable paste | Apply 3–5 mins → Press warm towel 30 sec → Gently massage & rinse | Sensitive skin, mild exfoliation |
Myth-busting
- Myth: Blackheads are “dirt.”
Truth: They’re oxidized sebum + keratin mix — not environmental dirt. Cleansing alone won’t remove long-embedded plugs. - Myth: Pore size can be permanently reduced by strips.
Truth: Peels can temporarily make pores look smaller by removing debris; pore size is mostly genetic. - Myth: The more often the better.
Truth: Over-peeling damages the skin barrier — less is more.
When to see a professional
- If blackheads are widespread, painful, or accompanied by deep cysts.
- If home treatments repeatedly cause skin damage or if you have a history of scarring.
- Dermatologists can perform extractions, chemical peels, or prescribe topical treatments (retinoids, benzoyl peroxide, salicylic acid) that are more effective long-term.
Hydrating the skin after removal of the strip
- Finally, when you have removed the patch, rinse your face with cold or lukewarm water.
- Apply it especially in the treated area, a little moisturiser to nourish and hydrate the skin.
- It is essential to observe how the skin reacts to the application of this beauty treatment.
- If it is too irritated, if it itches or burns you, it is best to avoid the use of this treatment.
- Consult your dermatologist or doctor if in doubt about this.
General Education & Safety
- American Academy of Dermatology – Blackheads & Whiteheads
- Mayo Clinic – Acne Overview & Comedones
- British Association of Dermatologists – Blackhead Removal Tips
Final Thought
Black head strips. Working as a homemade product, the product is a cheap and entertaining means to re-energize your skin and experience that strangely satisfying peeling sensation. Nevertheless, keep in mind; skincare does not have dramatic results within a day. It is concerning tender consistency.
A homemade strip may help remove surface flake and may make the pores appear purer, but it will not change pores permanently or even treat acne. The simple routine of mild cleansing, regular (non-aggressive) exfoliation, hydration, and sunscreen keeps blackheads under control indeed.