
Quilting
Image via Dreamstime.com Stock Photos & Images
Quilting is a wonderfully creative way to explore your passion for fine artistry. Whether you pick it up as a hobby or profession, it’s one of the finest crafts. We know having artistic flair is an essential prerequisite in fine arts. But together with that, you also need in-depth knowledge of the technicalities involved in quilt making. Because without it, your creativity will never find an outlet.
However, as you begin, the steps may seem to bog you down a bit. But you needn’t worry. Here’s a guide below that will help you take baby steps into this refined world of quilt-making and keep you abreast of the nuances.
Table of Contents
Simple guidelines to quilt-making
Creating your first quilt is like the eureka moment, a discovery, a moment of joy, a revelation. Hearing this, your hands must be itching to lift the fabric and work around gorgeous patterns. So let’s discuss ways to create a quilt.
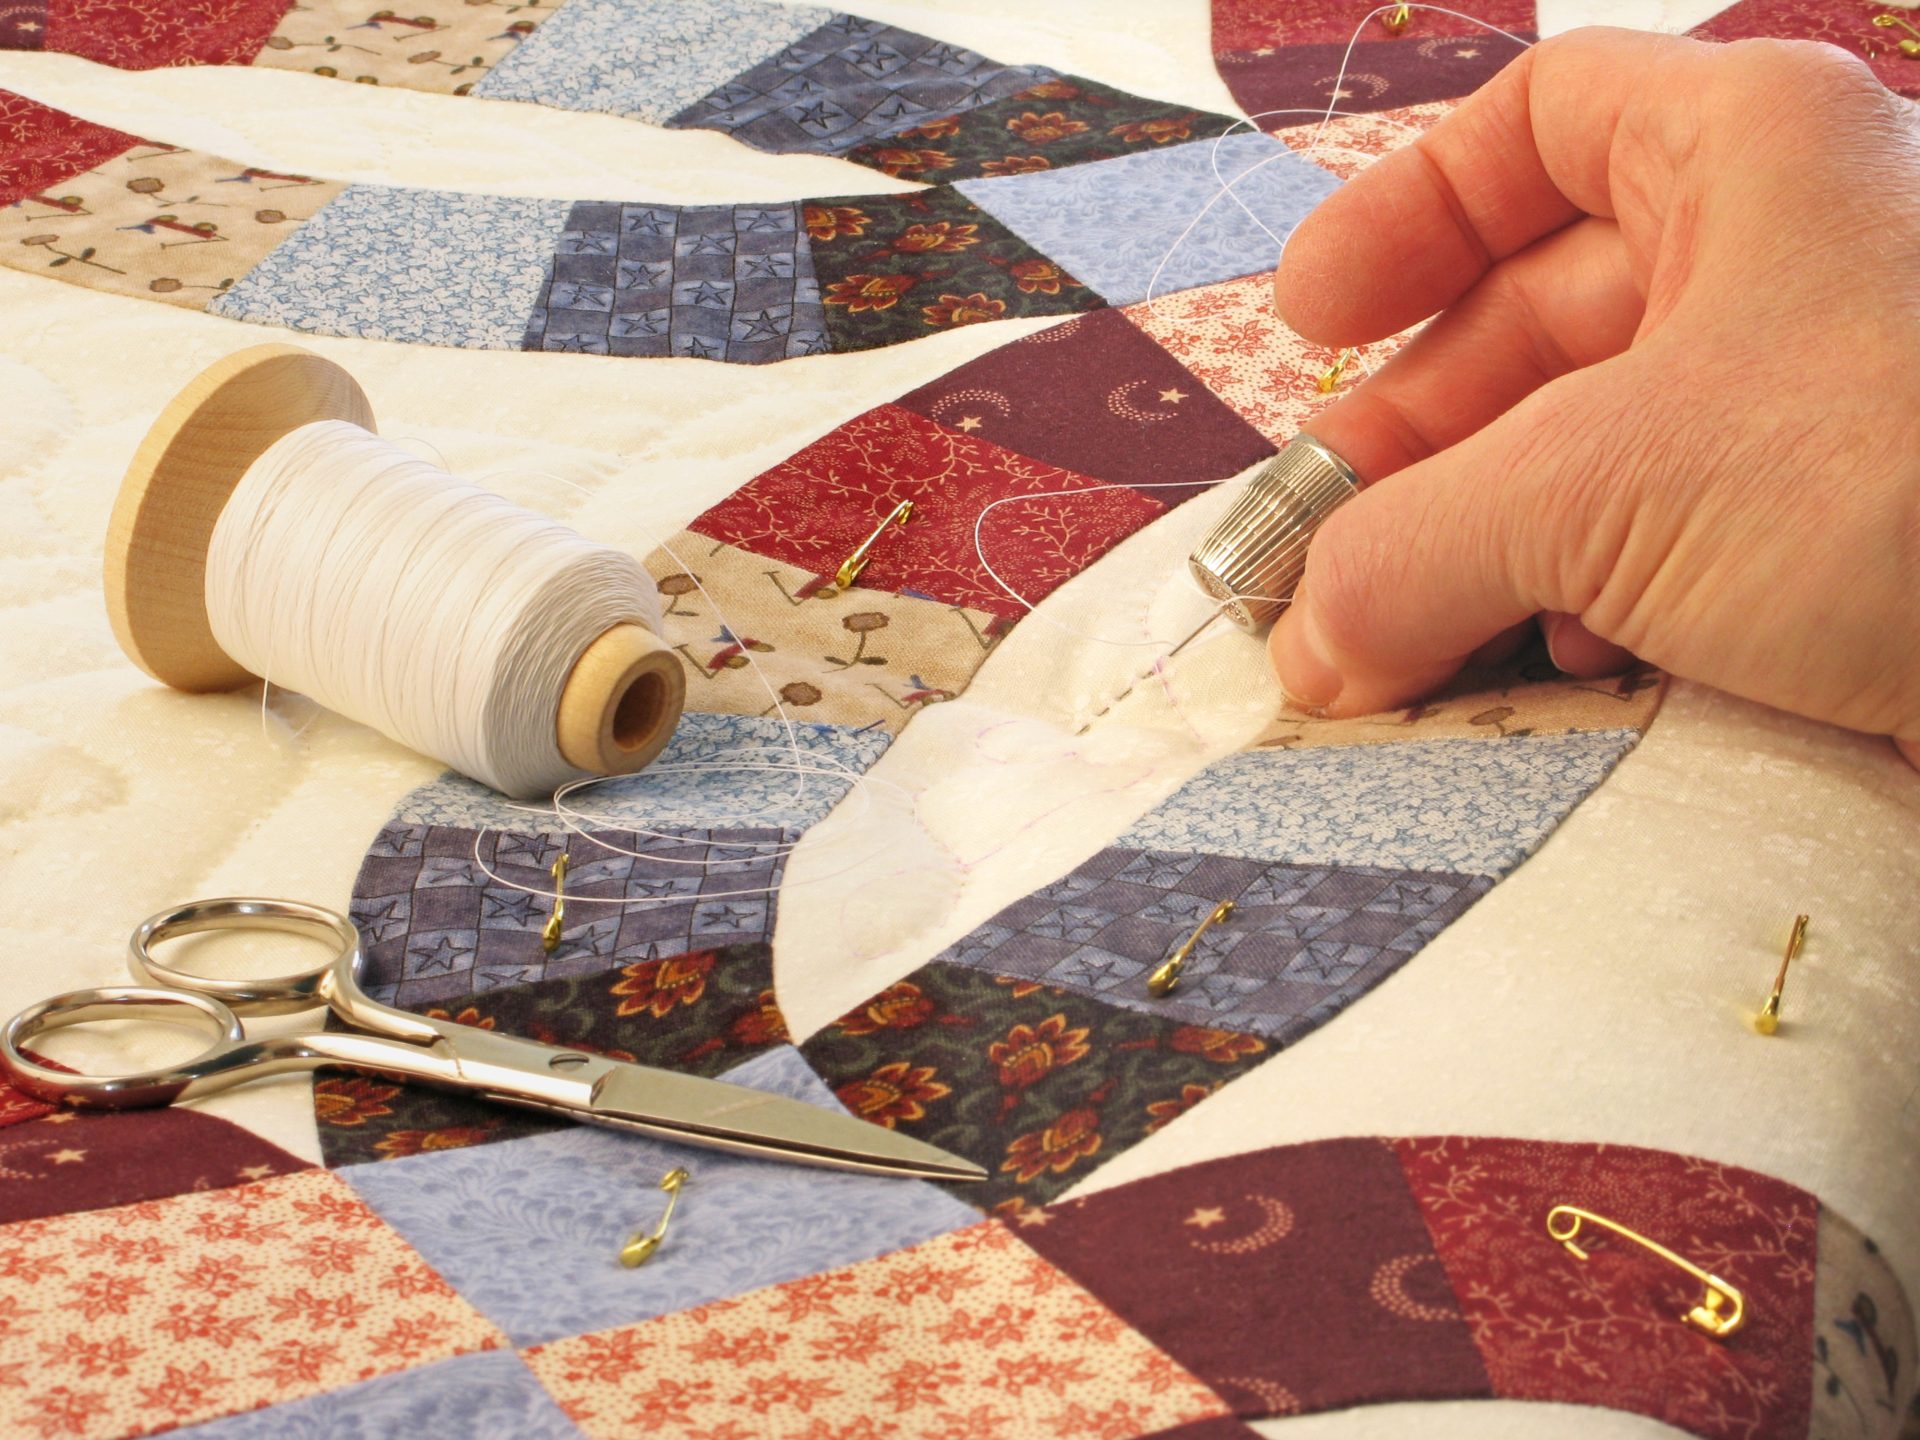
Step 1: Know your tools
Quilting does not require too many fancy tools. But besides the needle, some other tools include an acrylic ruler, cutting mat, rotary cutter, sharp scissors, iron, safety pins, straight pins, seam ripper, and straight pins.
Step 2: Zero in on a quilt pattern
Triangles and squares are easy to create. So opt for these simple designs when you begin. Also, consider the size as large quilts may be overwhelming to handle initially.
Step 3: Choose your fabric
Know your design well so that you can select your fabric accordingly. Fabrics are available in patterns like random dots, large, medium, and small-scale prints, geometric variations, etc. However, if you don’t know how much cloth to purchase, measure your blocks first and decide how many blocks you need to create the size you want.
You may seek help from a quilt fabric calculator or someone well-versed in quilt-making for the initial guidance.
Step 4: Wash your fabric
Cleaning your fabric beforehand may increase the longevity of your quilt.
Step 5: Remove the creases from your fabric
Use your iron’s steam setting to make the fabric wrinkle-free.
Step 6: Cut the fabric
Cut the patchwork accurately, measuring the size of each block, leaving some room to incorporate the seam afterward. For precision, bifurcate each piece using the acrylic ruler and rotary cutter. When you cut the patchwork, place the fabric on your cutting mat.
Step 7: Stitch the patchwork
Now, spread out the quilt on the floor and let your creative juices flow. Reshuffle the pieces to see which pattern catches your imagination. Once you are happy with the design, pick the pieces up in the correct order and keep them the same way. Make sure the seam is straight to avoid puckered quilts. Remember to stitch all the rows together.
Step 8: Straighten your rows using iron
Once the rows are sewn together, keep the quilt on a flat surface and start ironing the seams. Next, flip it so that the unfinished side is on top. Iron each seam in alternate directions. For the first row, iron the seam to the right side. For the next one, move the iron flat to the left side. Repeat the process for as many rows as the quilt has.
Step 9: Sew the rows together
Once you have arranged all the blocks on the quilt and the rows are finally together, it’s time to stitch one row to another, maintaining a consistent seam. Take the first and second rows, and flip them inward so that the completed sides are facing each other. Now, run a straight stitch like the one you ran when working on the rows. Next, repeat the process till all your rows are aligned and stitched together.
Step 10: Iron the whole quilt
This time, you will iron the front of the quilt using the same process you did for the rows.
Step 11: Make a quilt sandwich and tack your quilt
This is called the basting step. A quilt “sandwich” is the technical term for all the layers in your quilt. These are the front side, the batting, and the backing.
Step 12: Bind your quilt
Binding is the final step in the process. It helps you get the desired look for your quilt with a nice, soft border running around the patchwork. There are different ways of binding a quilt, but it finally depends on your taste and preference.
Conclusion
It’s all about learning the techniques of quilting while enjoying the process. So make your maiden quilt and regale in creative abundance.